R is a free statistical program used commonly by (but not exclusive to) biologists and psychologists. R studio is the user friendly extension that makes the R console easier to use.

Let me stress this again, R is the program, but R studio is the extension. This is why you can use R, the program, on its own, but you cannot run R studio without having R, the program, on your computer. It would be like trying to run an AdBlocker extension with no browser.
Here I will cover: Downloading R and R studio for the first time and Understanding the features of R and R studio.
Downloading R for the first time
- Go to https://www.r-project.org/
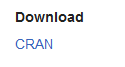
- In the left hand corner under Download click CRAN
3. Pick one of the links associated with your country.
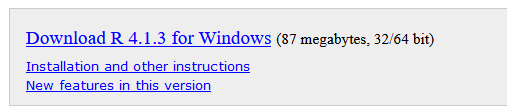
4. Download the link appropriate for your computer system

5. Click base

6. Download R for your system
7. Follow the typical downloading and installation prompts associated with your computer system
Downloading R Studio for the first time
- Already have R the program on your computer, if you don’t do that first.
- Go to https://www.rstudio.com/
- In the right hand corner click download

4. Pick a version. Free has all of the tools you will need for this course and most likely all of the classes you will take in Undergrad, and research in Honours, Masters, PhD, PostDoc, etc

5. Follow your computer prompts to download and install
Understanding R
If you go to File > New script, you can open up an extra panel in R, your R script (right panel in image below), where you can write your code and save it to come back to it. The R Console (left panel in image below), is where R runs your code. If you write your code in the Console, R will run your code, but will not save your code for later.
But this is pretty much as far as I’d like to go into R the program. Let’s get into R studio!

Understanding R Studio
Now that you’ve opened up R Studio, this is basically what each of these panels do:

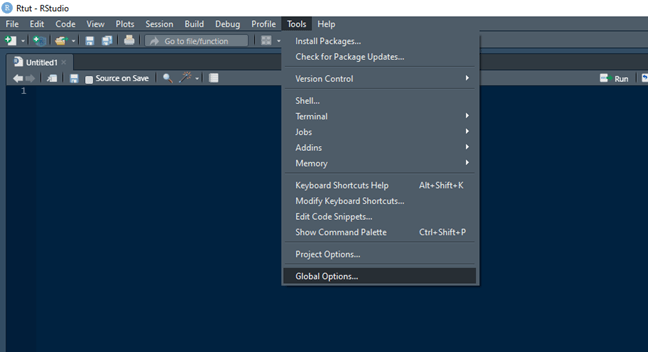
But before we jump into the nitty-gritty of R studio, how about we change how it looks and make it more visually appealing for your coding days. Go to Tools > Global Options
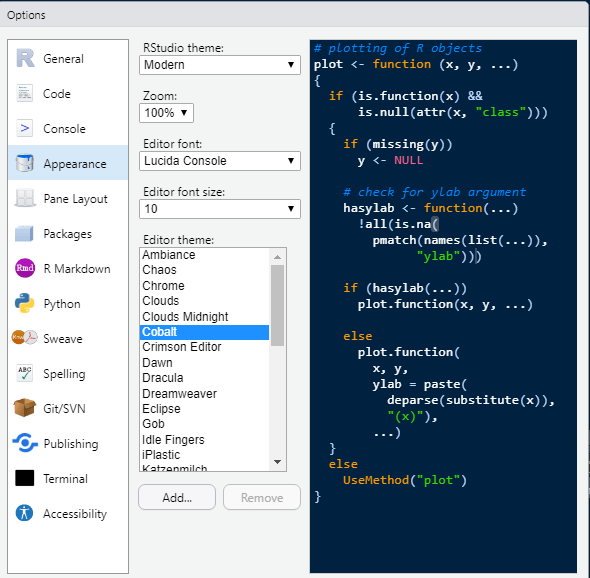
Feel free to explore and customize your R studio by going through these tabs. But the two I want to focus on are the Panel tab – where you can customize where and how your R panels are displayed – and the Appearance tab – where you can customize R into different colours. I prefer the “Cobalt” theme.
Now that your R Studio is nice to look at, lets see a few other important features.
I typically use two types of scripts for save my code: R script or R markdown file.

If you are using an R script file, you can write all of your code, run the line by having my curser on my line of interest and pressing CTRL+Enter (or Command+Enter on Mac). The code will run in the R Console:
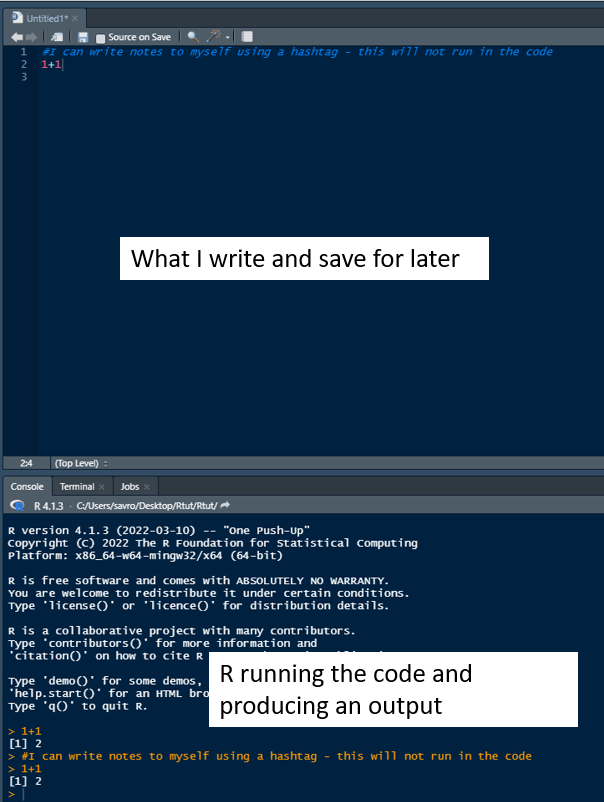
You can use hashtags (#) in the script to write yourself notes about your code without R running that sentence. Try running a note without using a hashtag and see what R does.
I personally prefer using an Rmarkdown file, as it’s easier to leave yourself notes – without having to use hashtages – and keep yourself and your code organized. Rmarkdown files can also be “knitted” or made into Word documents, HTML files, PDF’s etc to make sharing your code easier.
To Run a code in your “chunk”, make sure your curser is on the line you want to run and press CTRL+Enter (Command+Enter on Mac).

Now let’s also talk about making “Projects” and “Files” in R.
You may want to start a new Project for every new assignment, or research question you are looking to explore. A “Project” in R, is like creating a folder on your computer. It’s important to do this for A) Organization and B) to help your R run faster and not overwhelm it with too much data and space.
To start a new project, just select “New Project”. R studio will ask you to set a Directory. This is like having a General folder for your Project. Make sure you already have a folder made to set as your Directory.
For example if I were taking a stats class I could have my “Directory” be the class name – Stats101 – while my Project name will be the class for that week – Intro to Linear Regression. The “File” will then be the specific assignment I am doing – assignment1.
In my case my Directory is called “R Course”, my Project is called “Intro to R”, and my file is called “getting to know Rmarkdowns”. My directory is also where I will keep all of my data files (like excel .csv files) and any graphs I make or anything else I save, will save in this Directory.
If this part is still confusing, we will be doing this a few times throughout this course so you will get the hang of it.
Now that you have R downloaded, started a Directory, and a Project, let’s chat about organizing your data!
